 |
Load overlay file. Note that the upper button loads a single
overlay file, clearing the current overlay. The lower button adds to
the current overlay.
|
 |
Save all overlays |
 |
Save all overlays to a different file. Note that the upper
button saves all overlays, the lower just the current one. |
 |
Copy current overlay to clipboard |
 |
Add another overlay from the clipboard |
 |
Fix all parameters, i.e. set Float = "no" for all parameters. |
  |
Cycle through units (cm-1, nm, MHz, Kelvin and
eV), converting parameter values as appropriate each time. For overlays
this is not normally required, as PGOPHER
will normally do the required cpnmversions.
|
 |
Add overlay from file. Note that the upper
button loads a single overlay file, clearing the current overlay. |
 |
Export current overlay to file. Note that the upper button
saves all overlays, the lower just the current one.
|
 |
Copy peaks to clipboard |
 |
Delete peaks from this overlay |
 Windows Overlays Window
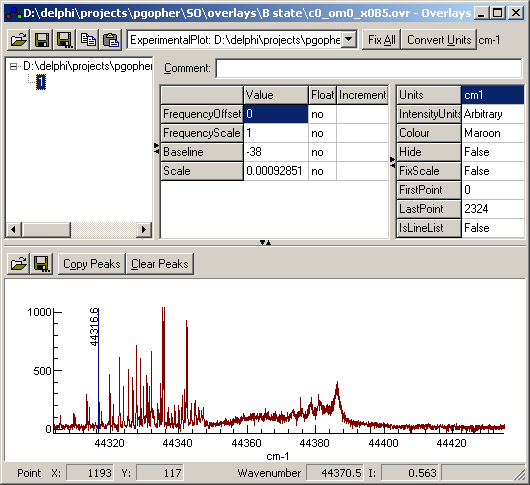
 This allows an
overlay to be selected from the overlays currently loaded.
Overlays can also be selected using the tree view in the overlays
window.
This allows an
overlay to be selected from the overlays currently loaded.
Overlays can also be selected using the tree view in the overlays
window. 